
Point almost any AI image tool at a Revit screenshot these days, and you'll get a stylized render back. That part isn't interesting anymore. Every rendering tool with an AI checkbox can do it. The interesting question is what happens on the tenth render, not the first: are you still typing out the same description of golden-hour lighting and landscape entourage from scratch, or have you built something you can reuse?
Why not just prompt it yourself?
There are two ways to get an AI render of your Revit model.
The first is to attach a screenshot and type a prompt into whatever image tool you're already using- Gemini, Midjourney, ChatGPT, doesn't matter which. This works fine. But you're writing that prompt from scratch every time, describing the lighting, the material, the entourage, the mood, all in one chat, then doing it again for the next view, then again next week when you've forgotten exactly how you phrased it the first time.
The second is to save your best prompts somewhere, like a notes doc, a text file, whatever's around. This is better, but you're still copy-pasting and hand-editing text every time, and there's no structure to any of it. Nothing stops you from writing three slightly different versions of "golden hour lighting" across three different projects.
Charrette, the Revit add-in I built for AI rendering, takes a third path: prompt libraries as structured, reusable, editable files, built into the tool itself.
Categories, themes, and editable text
Charrette builds every render prompt from six categories: Style, Lighting, Material, Background, Entourage, and Weather. Pick a value in each dropdown (or leave it on default), and you've built a detailed prompt without typing a word of it.
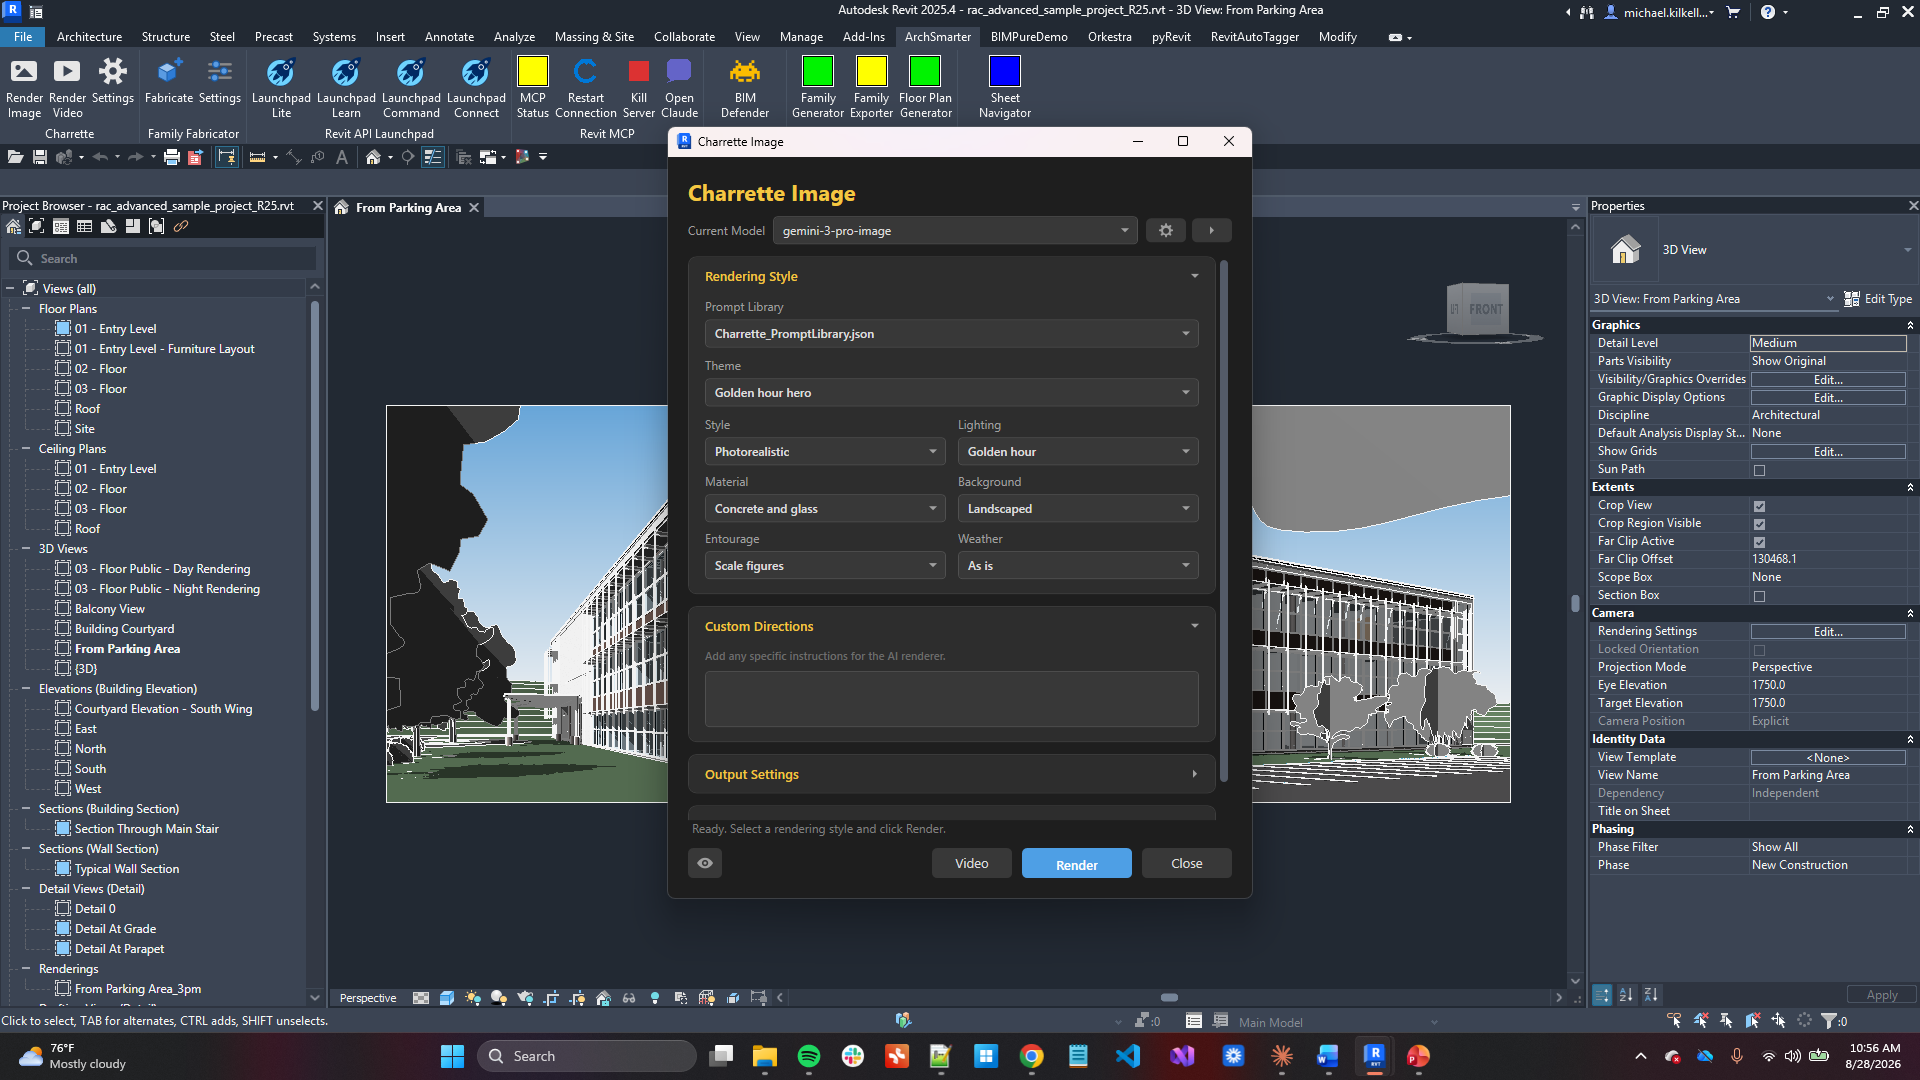
If clicking through six dropdowns every time still feels like too much, Themes bundle a full set of selections under a single name. The "Golden Hour Hero" theme sets style, lighting, weather, and entourage together in a single click. Switch to "Urban Day," and you get overcast lighting and a photorealistic style instead. "Night Exterior" changes nearly everything again.
Here's the cool part: every one of those category values lives in a plain JSON file you can open and edit yourself. Want a lighting option that doesn't exist in the default library? Add a line. Want a whole vocabulary built around a specific project type or a specific client's aesthetic? Build a new library file, drop it into the folder, and it will show up in the dropdown the next time you open Charrette. You're not just picking from a menu I wrote. You can generate your own.
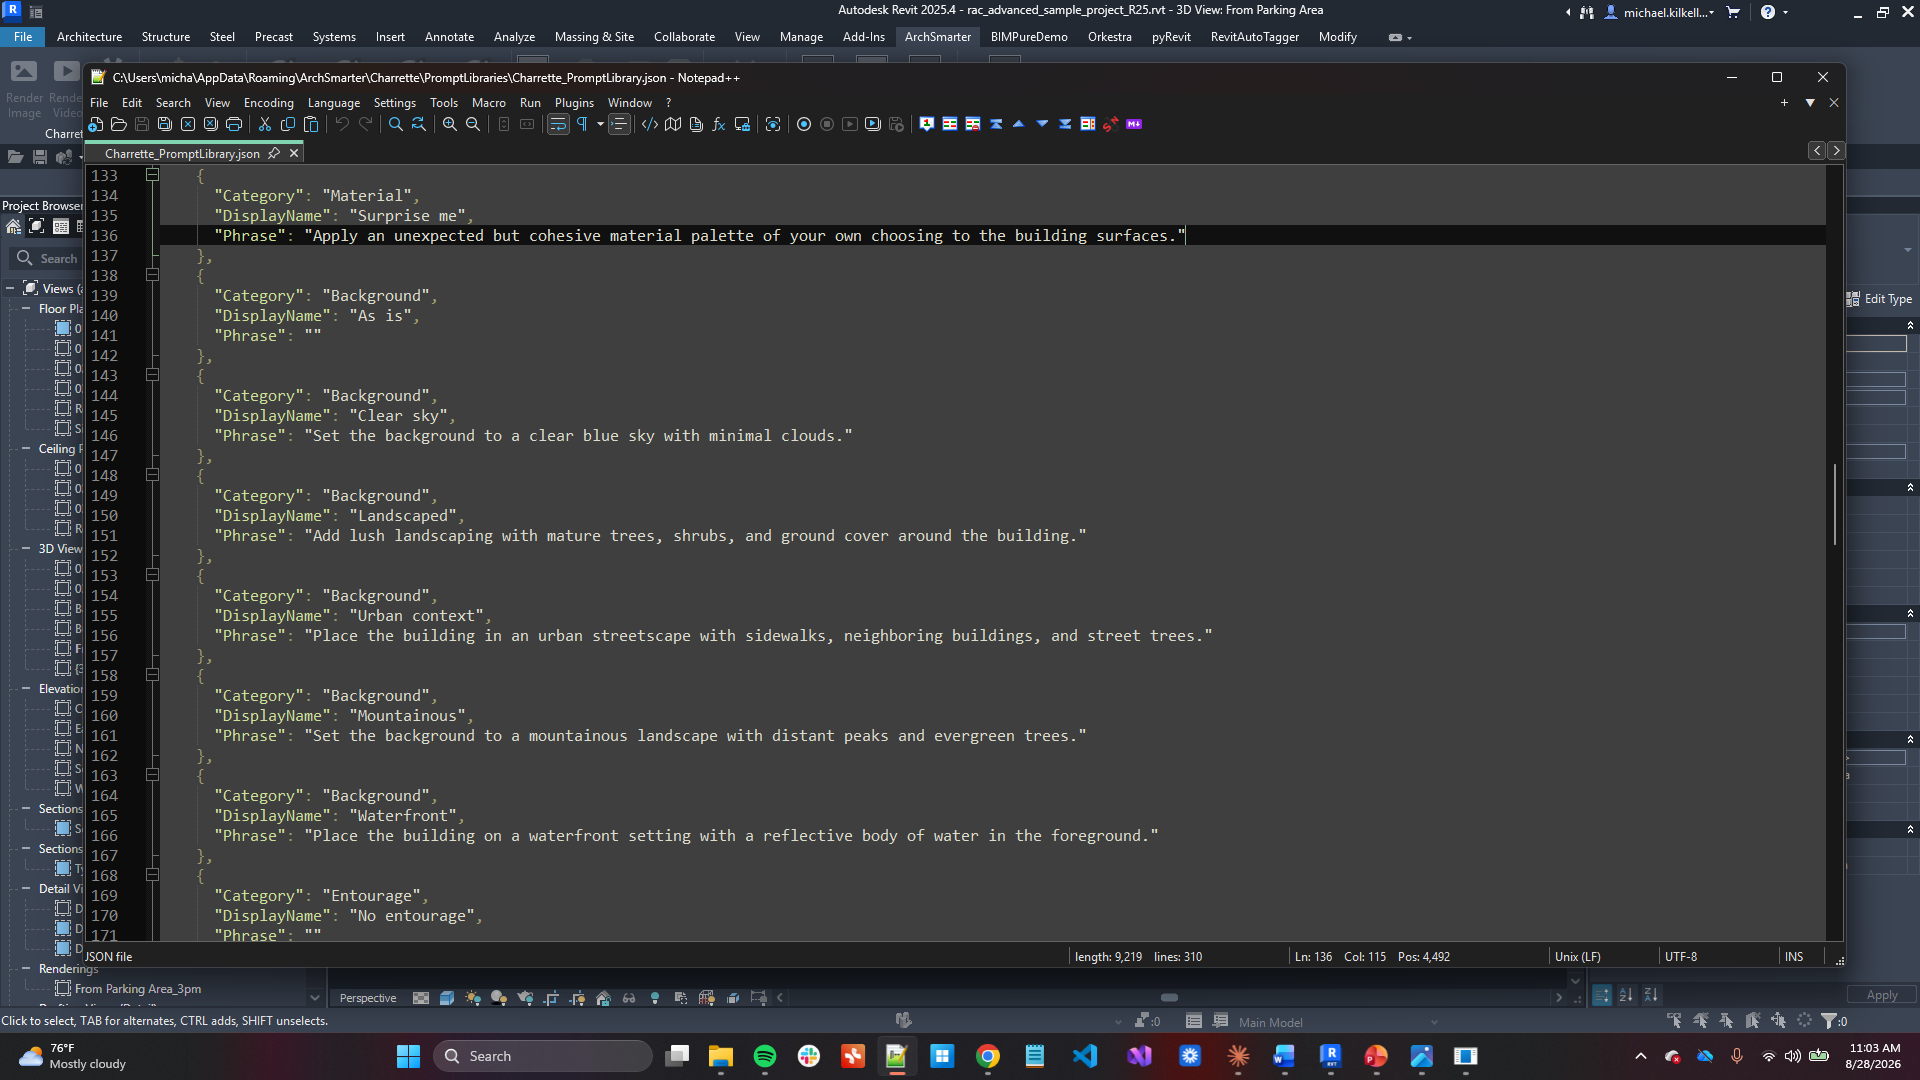
There's a README file included with the prompt library files, written to serve as instructions for an LLM. Feed it to Claude or Gemini, describe the style you're after, and it'll write the JSON for you. Building a new library is easy, and that's the difference between a tool that gives you predefined renders and a tool that gives you a system you keep improving.
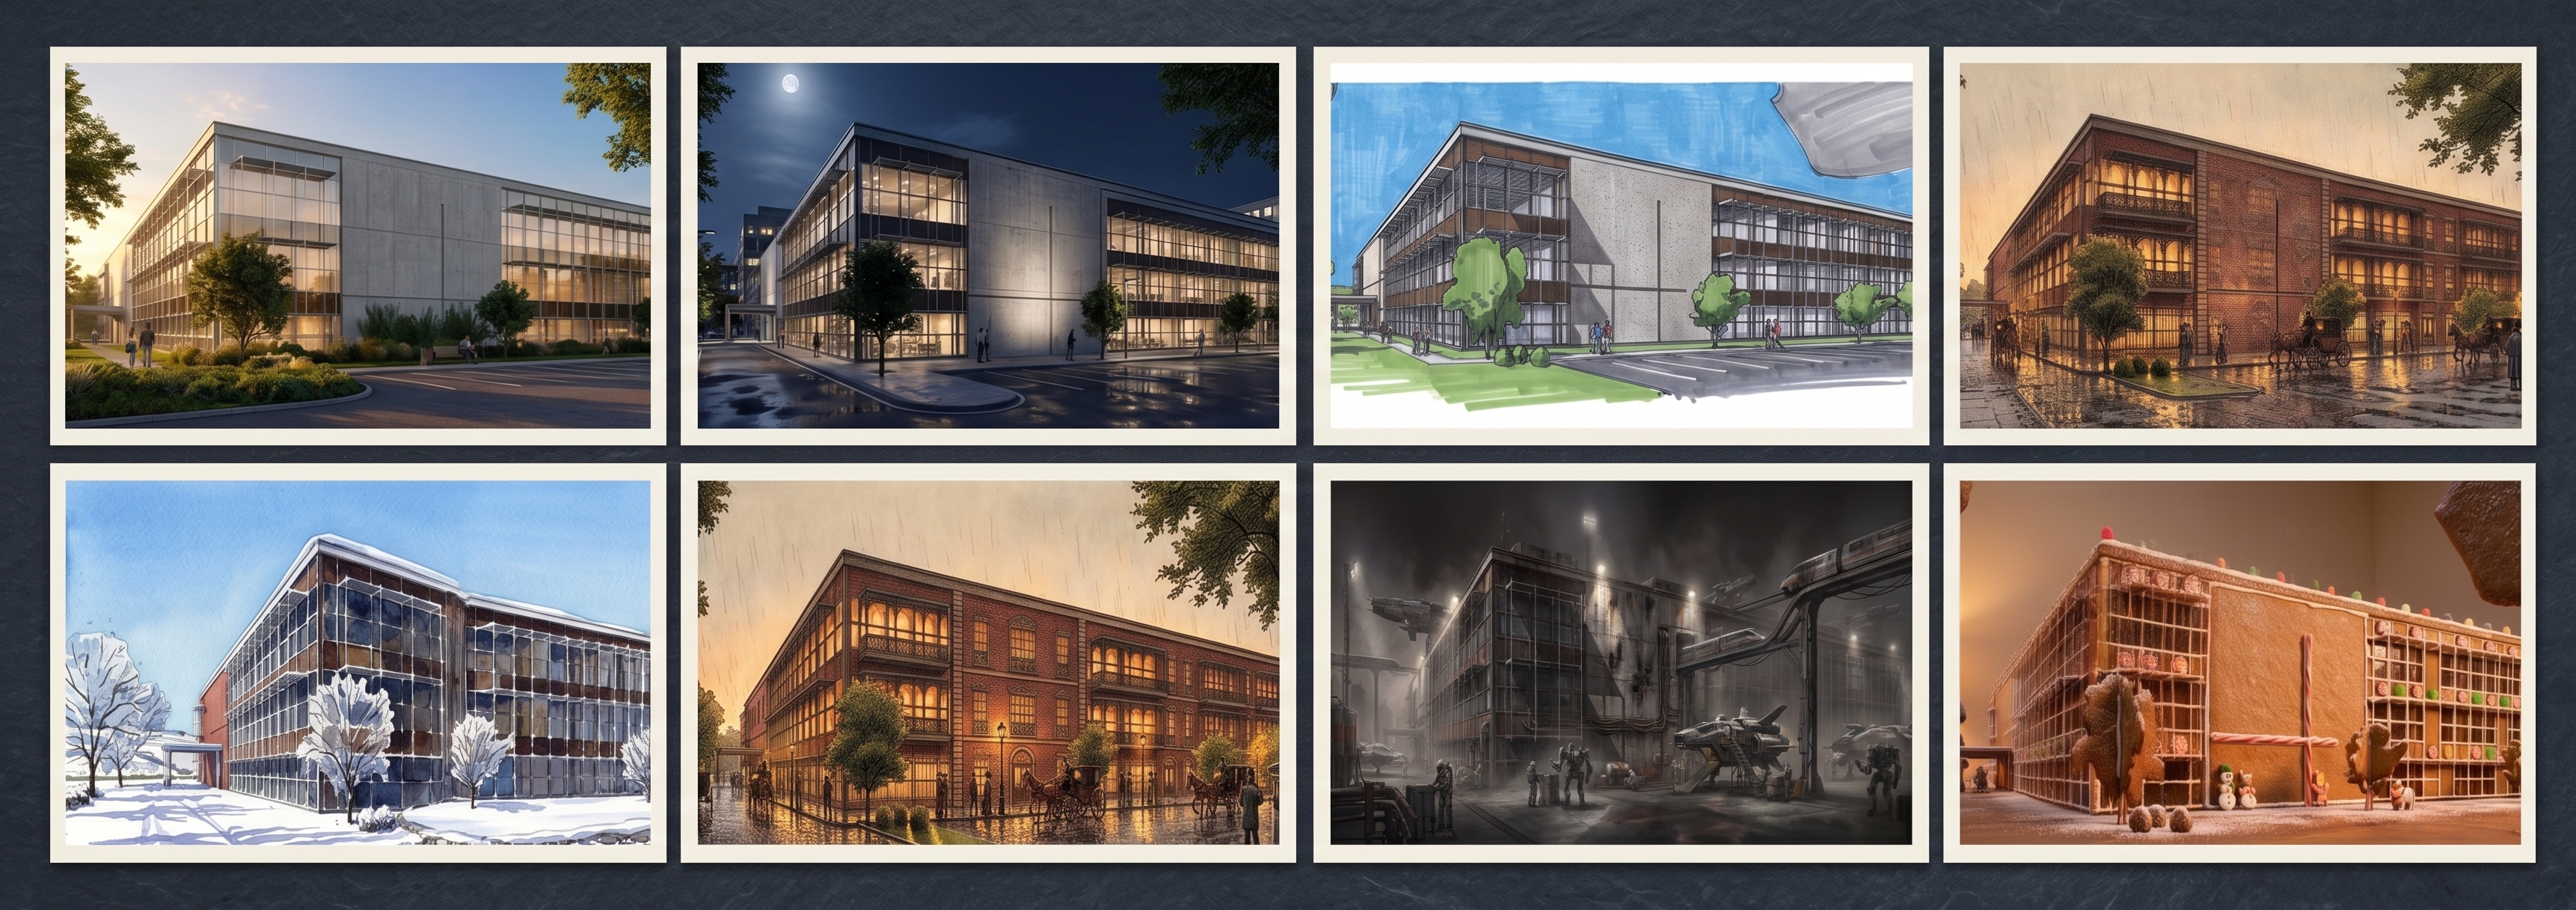
I've rendered the same Revit view as a line drawing, a photorealistic night shot, a watercolor New England barn, a rundown sci-fi spaceport, a Victorian building, and, because six wasn't enough, a full gingerbread house with an animated rotation. It's a lot of fun.
What you see before you commit
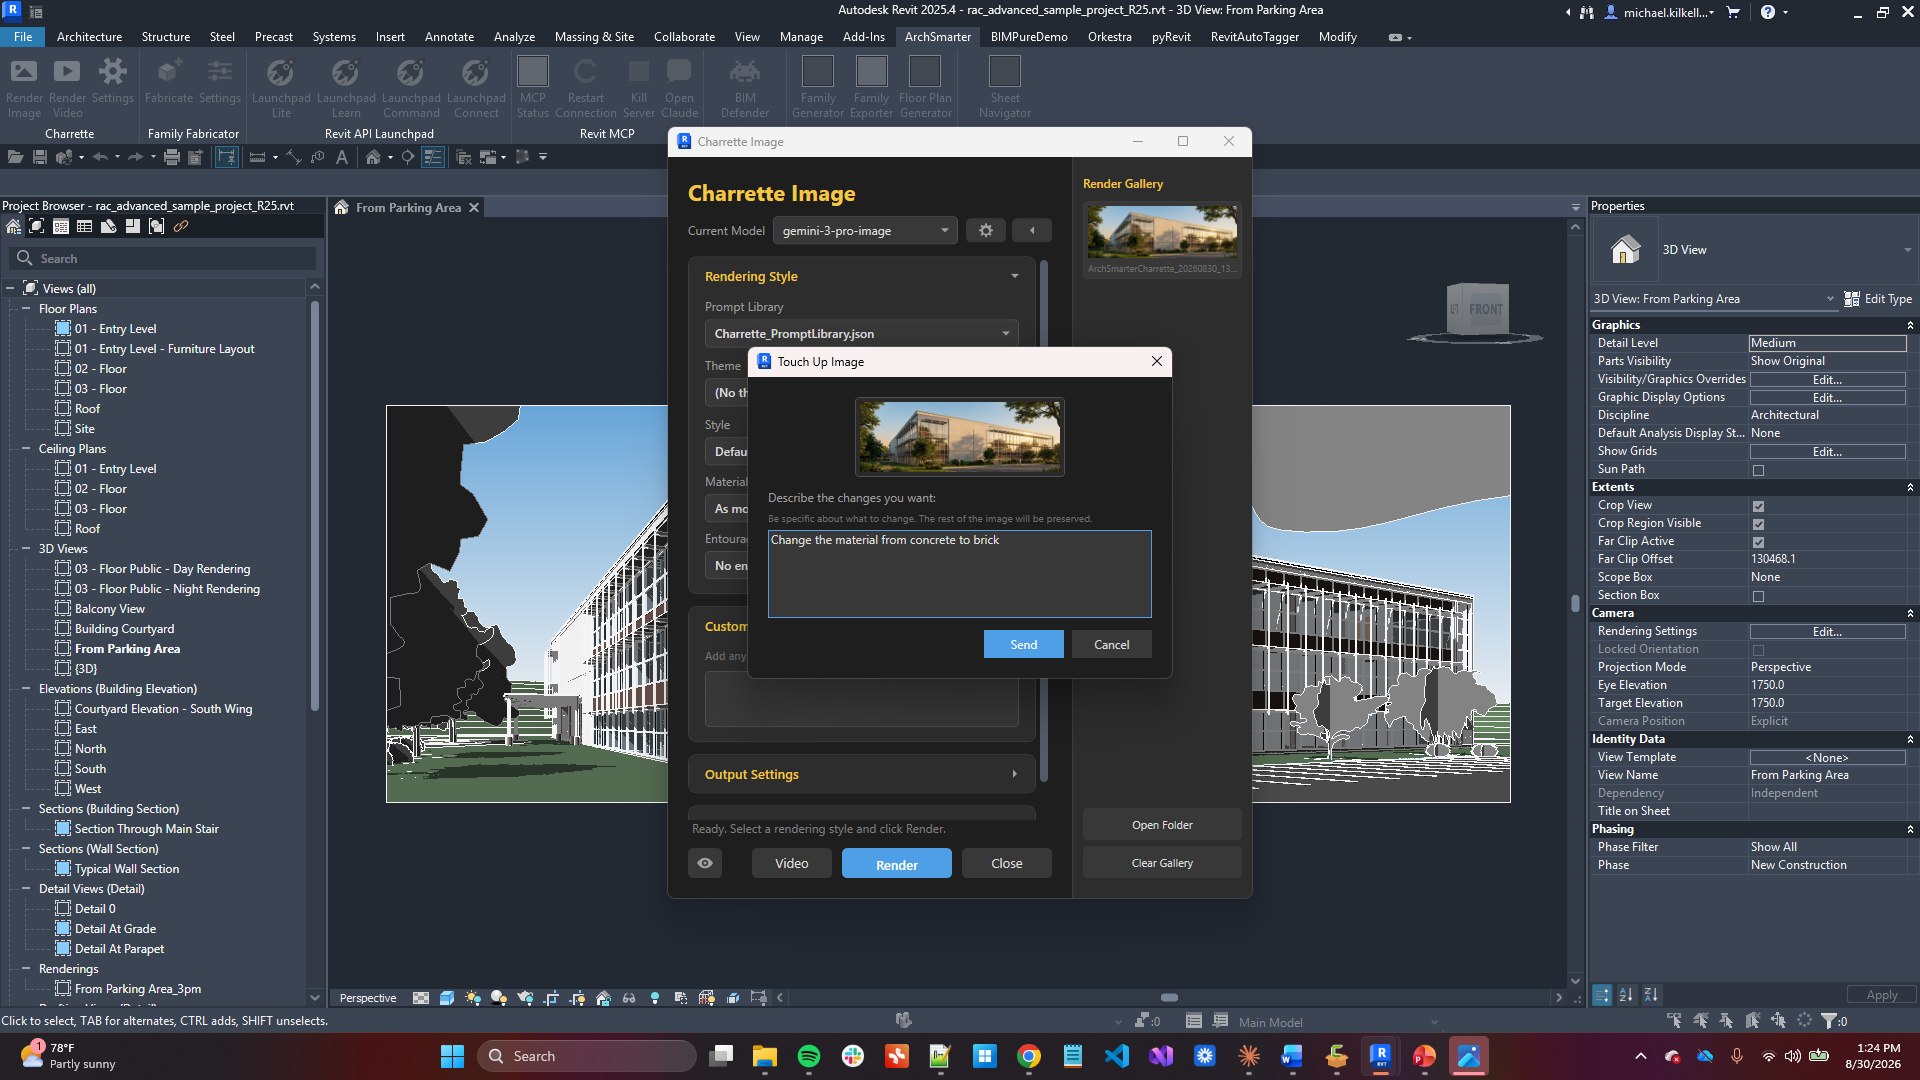
Every render from the current session is saved in a side panel gallery. Right-click any thumbnail to reuse those exact settings on a new view, or send a finished render back to Gemini for a targeted touch-up, "make the sky overcast," while everything else in the image stays the same.
Before you send off the view to render, the View Prompt button shows you the exact text about to go to Gemini. Not a summary of it, the actual assembled prompt. It's a small feature, but it's the difference between guessing why a render came back wrong and knowing what you told it to do.
What it costs
Charrette doesn't run on a subscription. It's free and open-source. You bring your own Google Gemini API key, and Google bills your account directly for whatever you use. I tracked my own spend on producing a full demo, a dozen or so image renders, and several video clips, and it came to $12. Images are approximately less than a dollar each. It's no surprise that video is more expensive, running a couple of dollars per clip. It's worth checking Google's Veo pricing before you kick off a batch, as it changes regularly.
The "bring-your-own-key" approach fits this kind of tool better than a subscription would. Rendering happens in bursts, with a heavy week here and then nothing for a month or so. Paying per use sure beats a flat fee or monthly subscription for a tool you might not touch for weeks at a stretch. It does require some work on your end. You have to set up your API account, generate a key, and accept a variable bill.
What about video?
Turning a rendered image into a short animated clip is super easy. Click the "Render Video" icon to launch Charrette Video. Pick a camera motion (there are twelve presets: orbit, zoom, a slow spiral down, a fly-through, and others), set a duration, and Charrette hands the job to Veo.
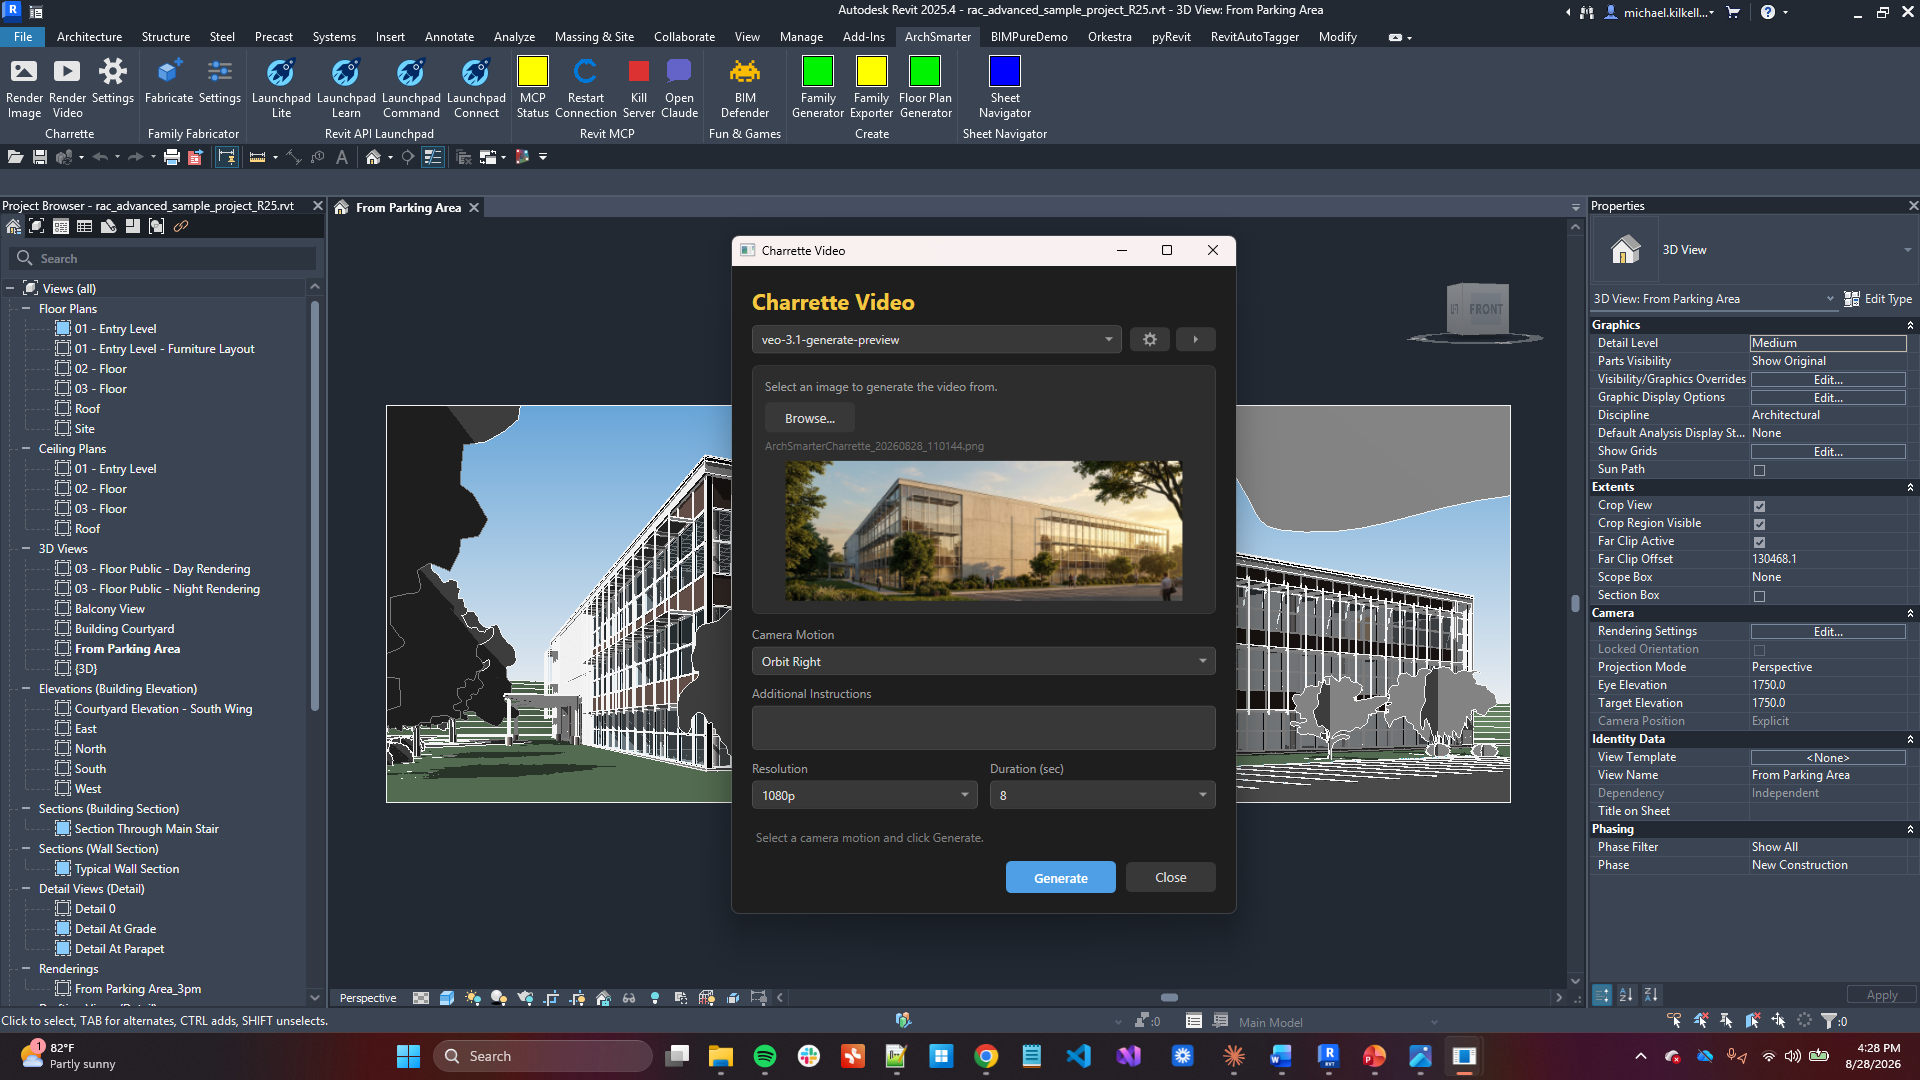
One thing to note: you don't get pinpoint control here. Ask it to animate the people in a scene while the camera orbits, and Veo takes its own liberties on how and when they move. Sometimes that's exactly what you wanted. Sometimes it's close enough, but it's not the kind of control you'd get from hand-animating a walk-through. What you give up in control, you get back in speed. You can generate a rendering, then create a short animation from that image in less than five minutes.
Getting it
Charrette is open source under the MIT license, free to use, modify, and redistribute. Grab it from GitHub, drop your own Gemini API key into Settings, and you'll be rendering in Revit in a few minutes!
Get the Thursday Top 5
My weekly email with five interesting and useful links on BIM, design, and technology, plus a few laughs along the way. I send it every Thursday. Join the over 8,000 AEC professionals who already get it.
